Cybertruck BLOX Aluminum Forged Wheel Spacers (1 Pair)
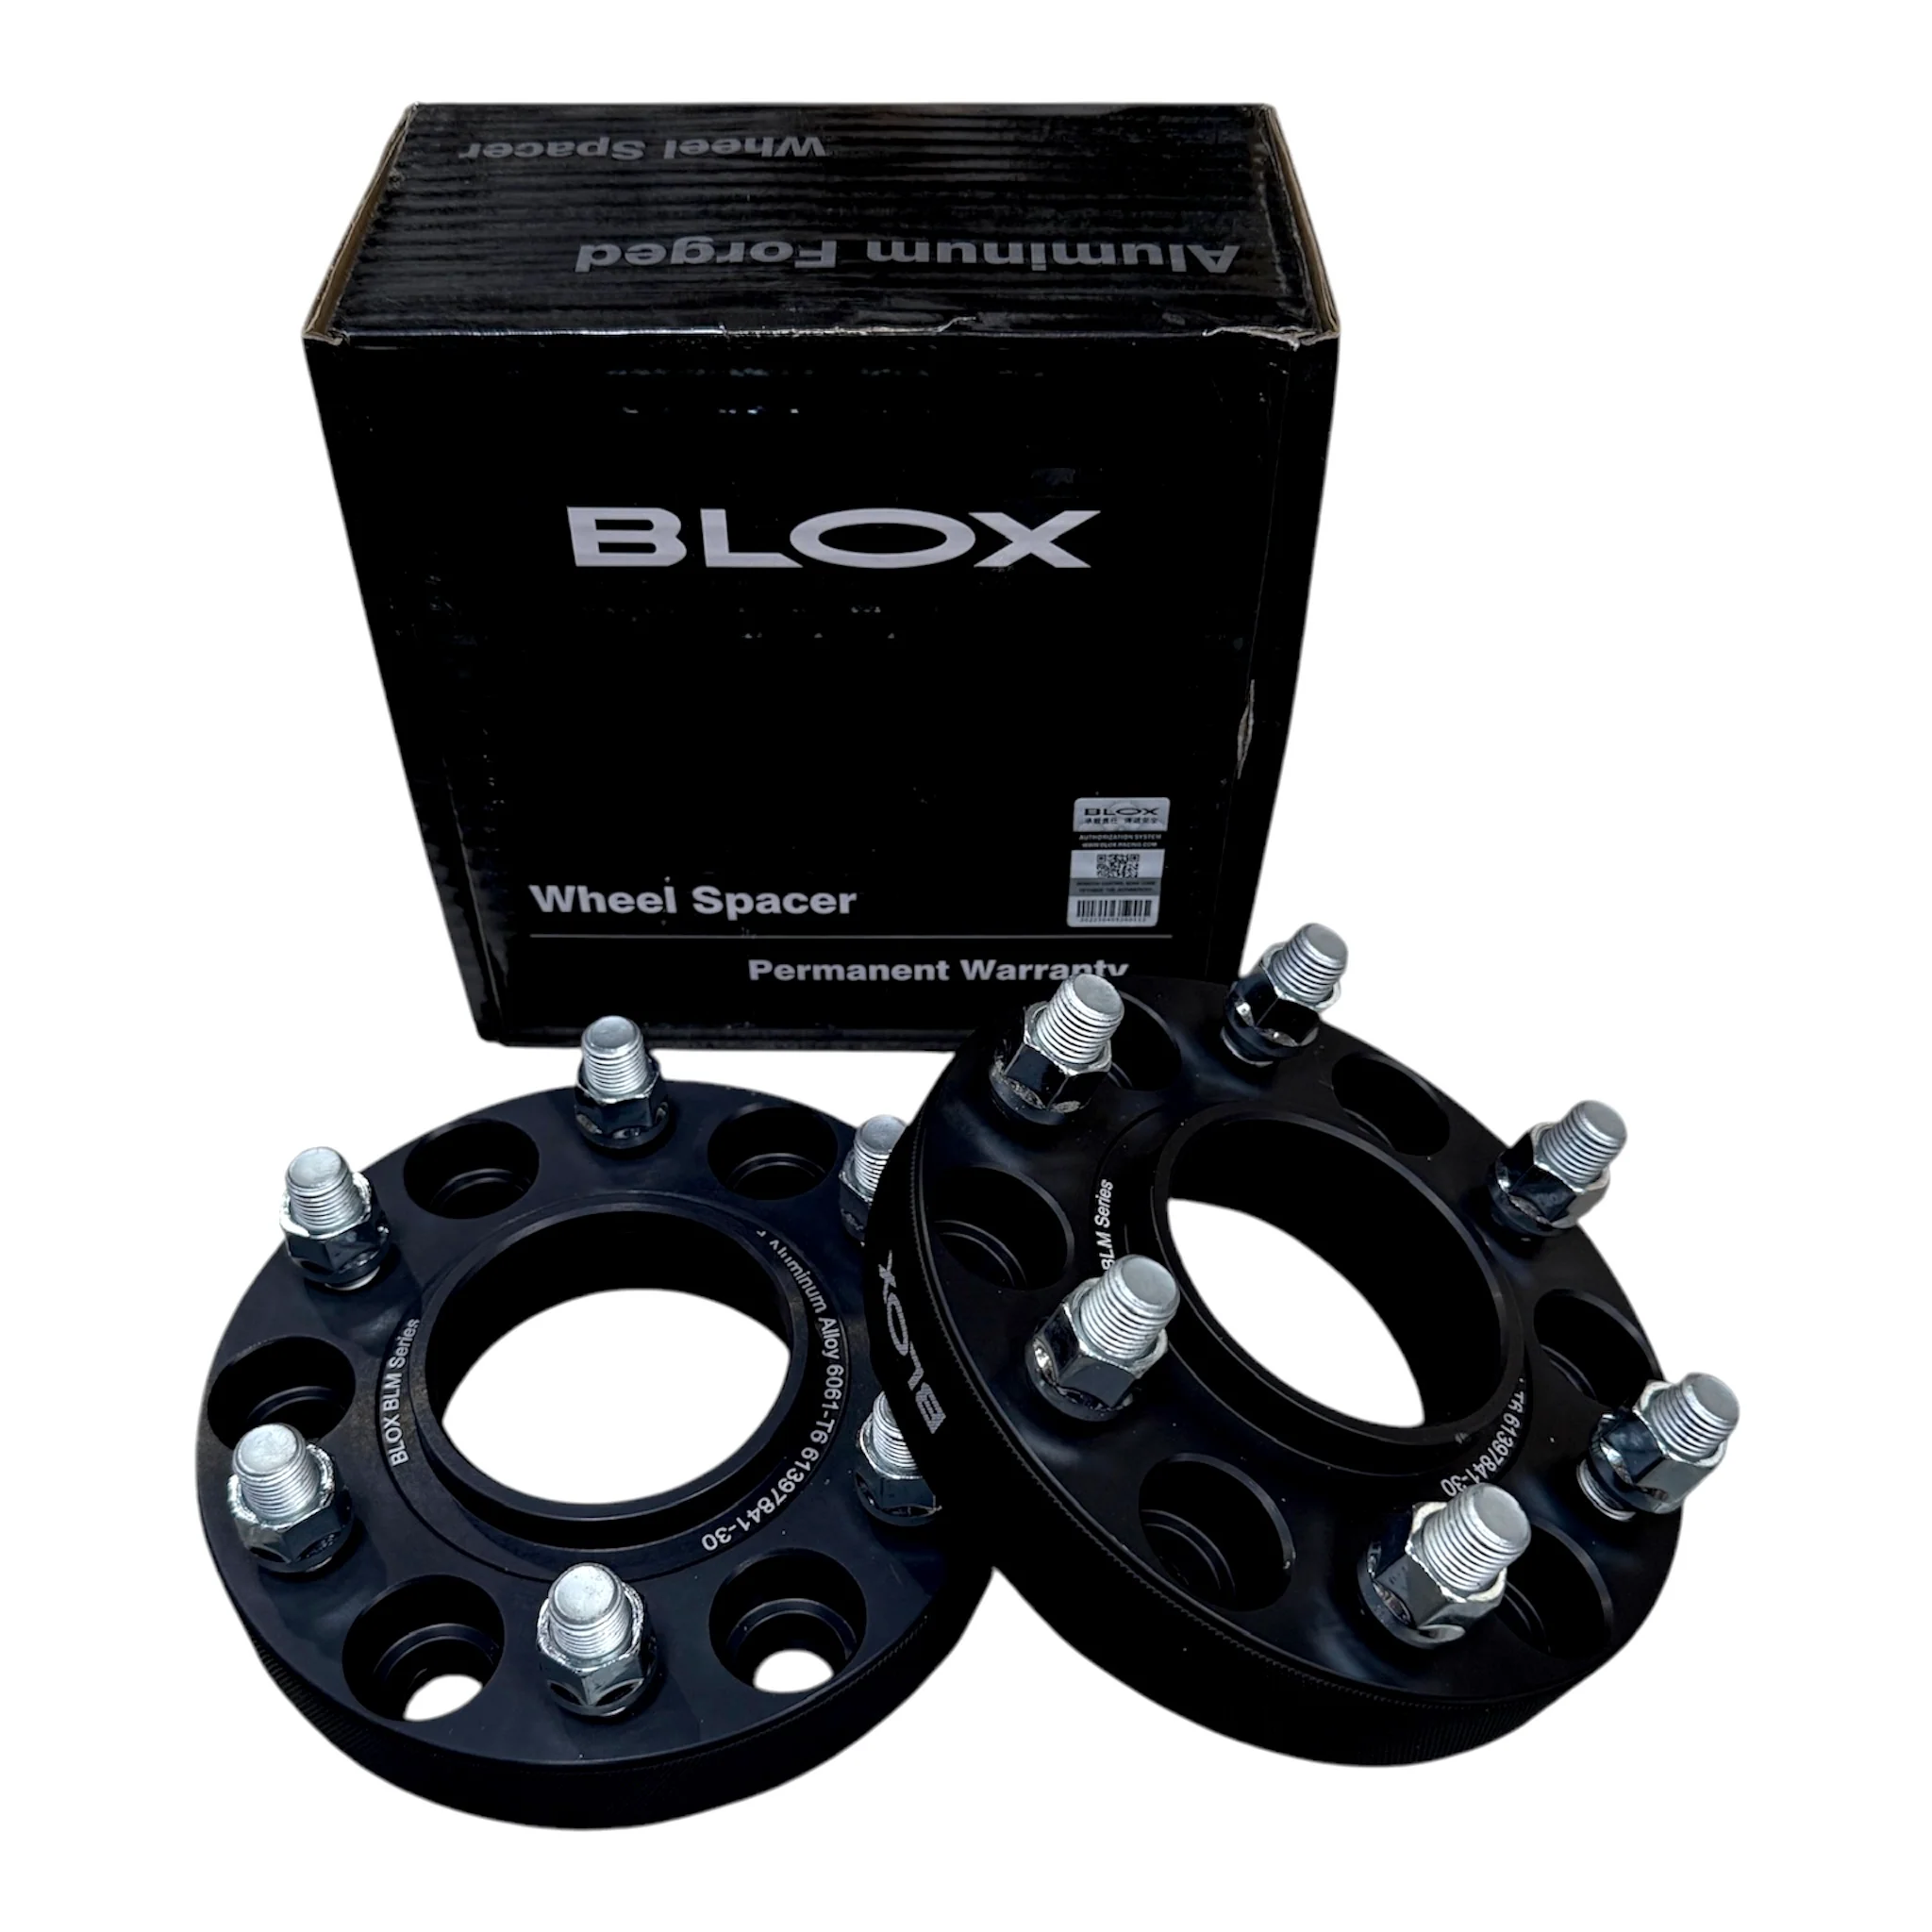
Cybertruck BLOX Aluminum Forged Wheel Spacers (1 Pair - 30mm)
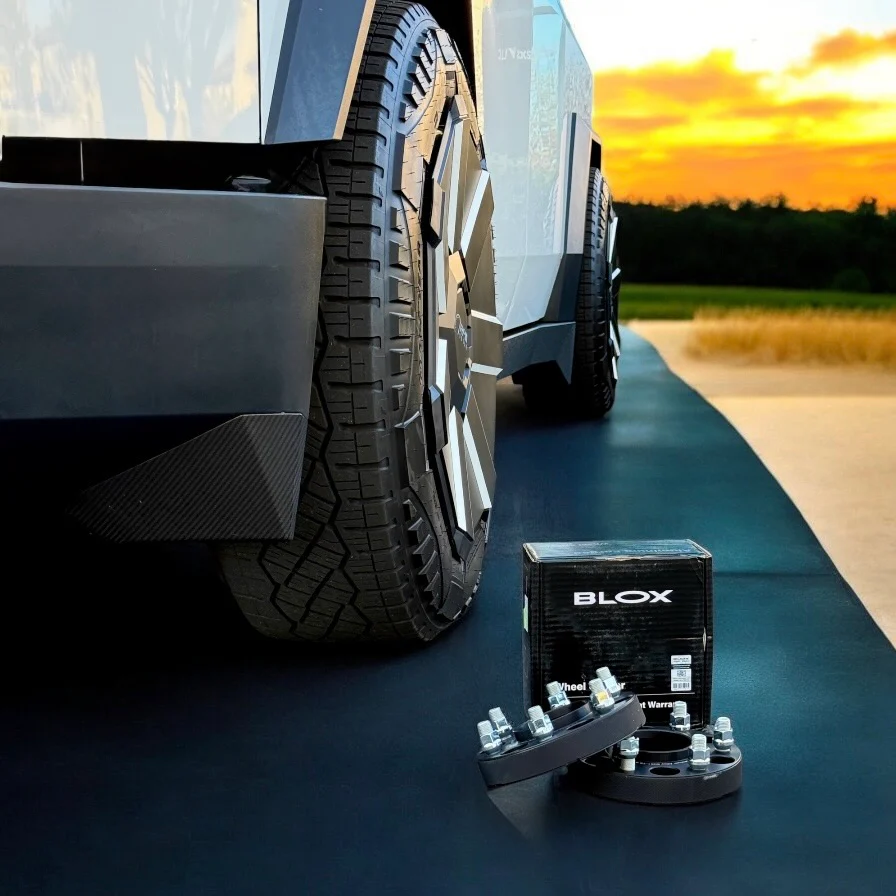
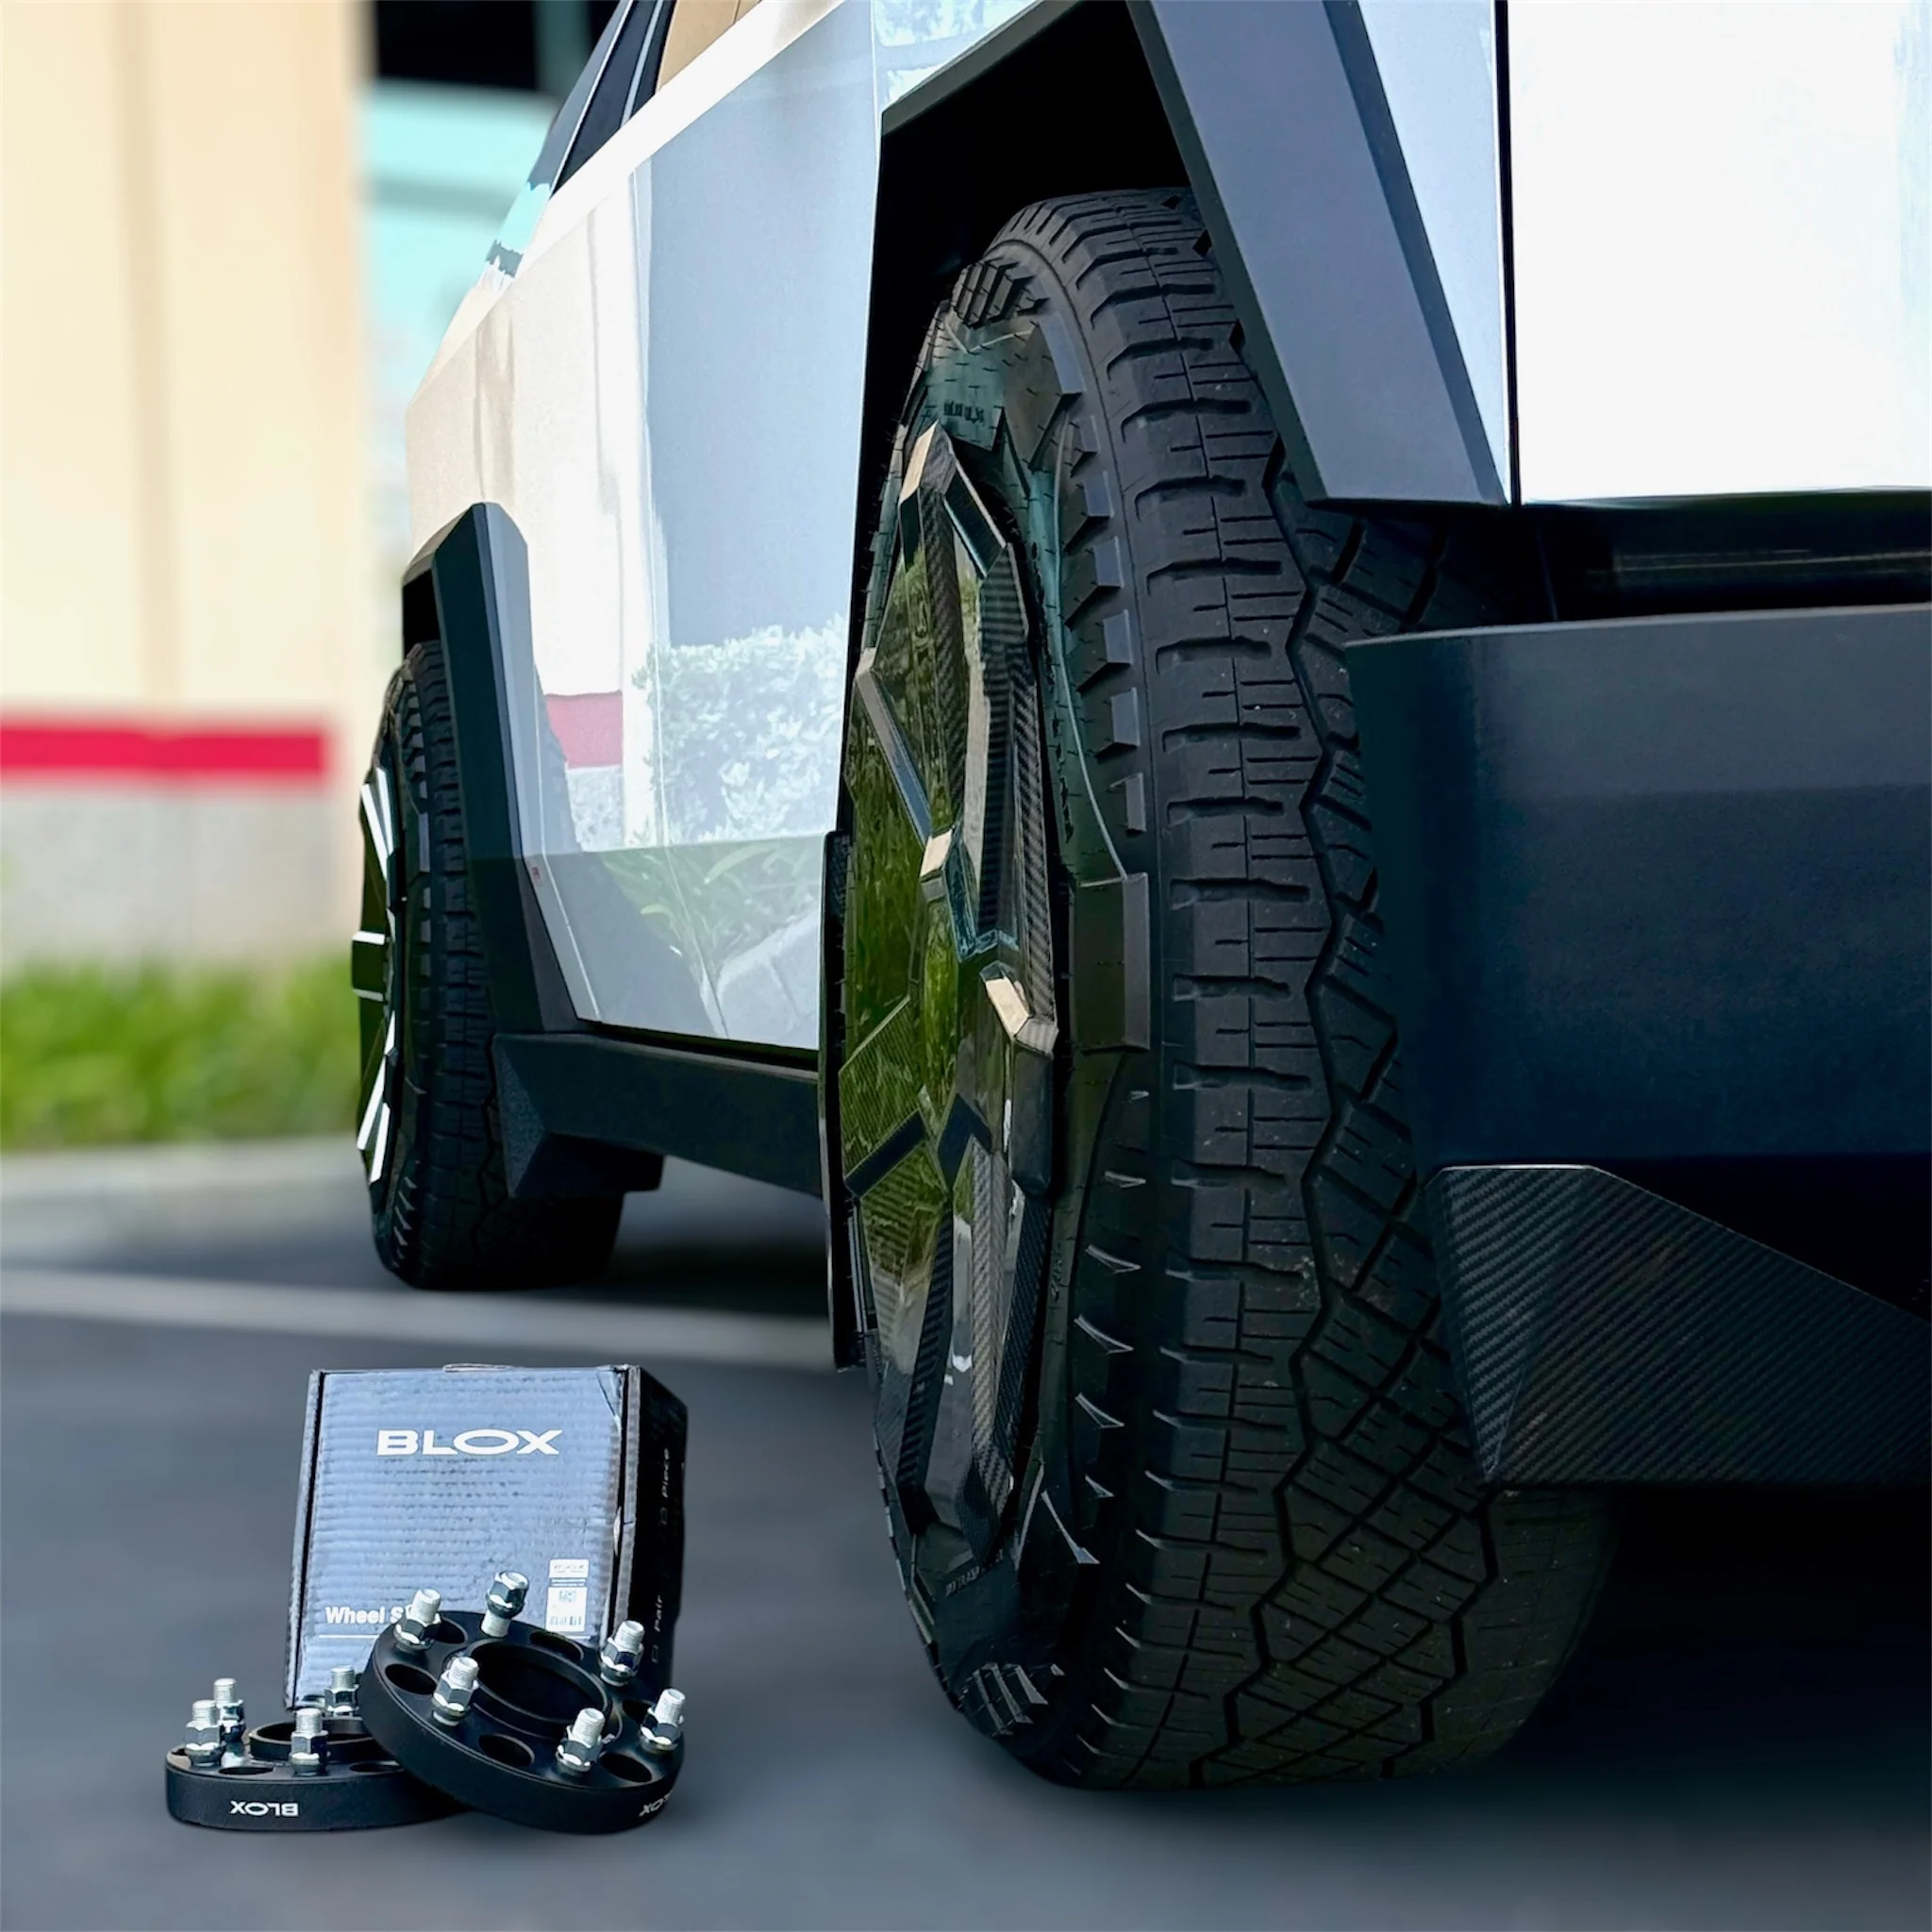
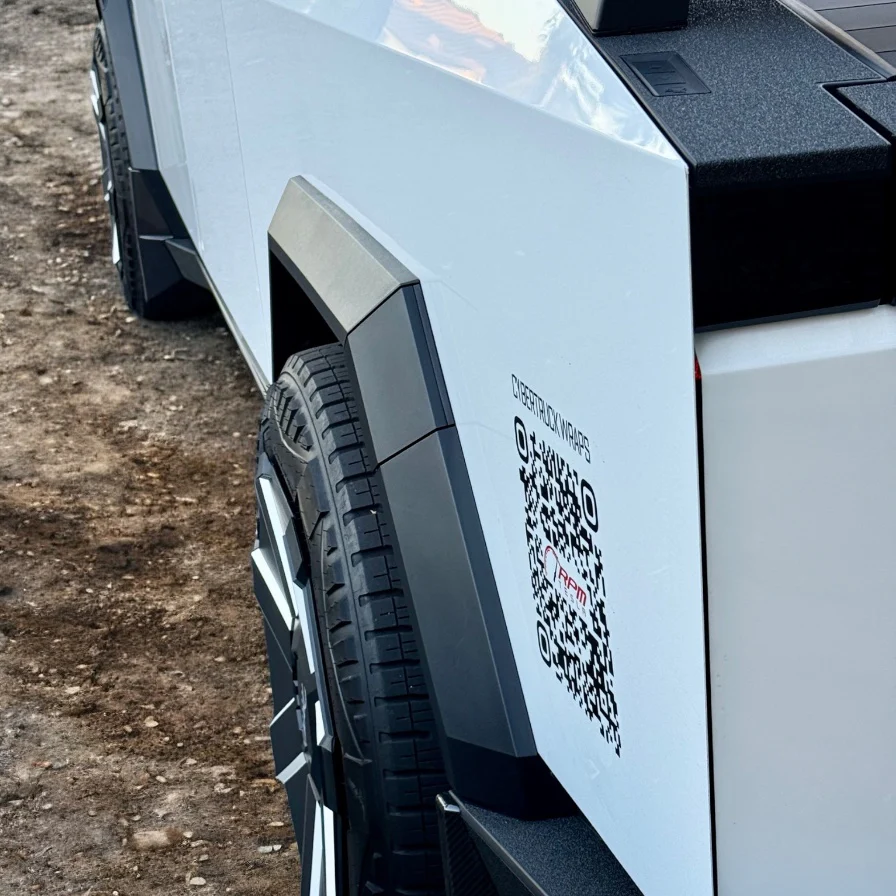
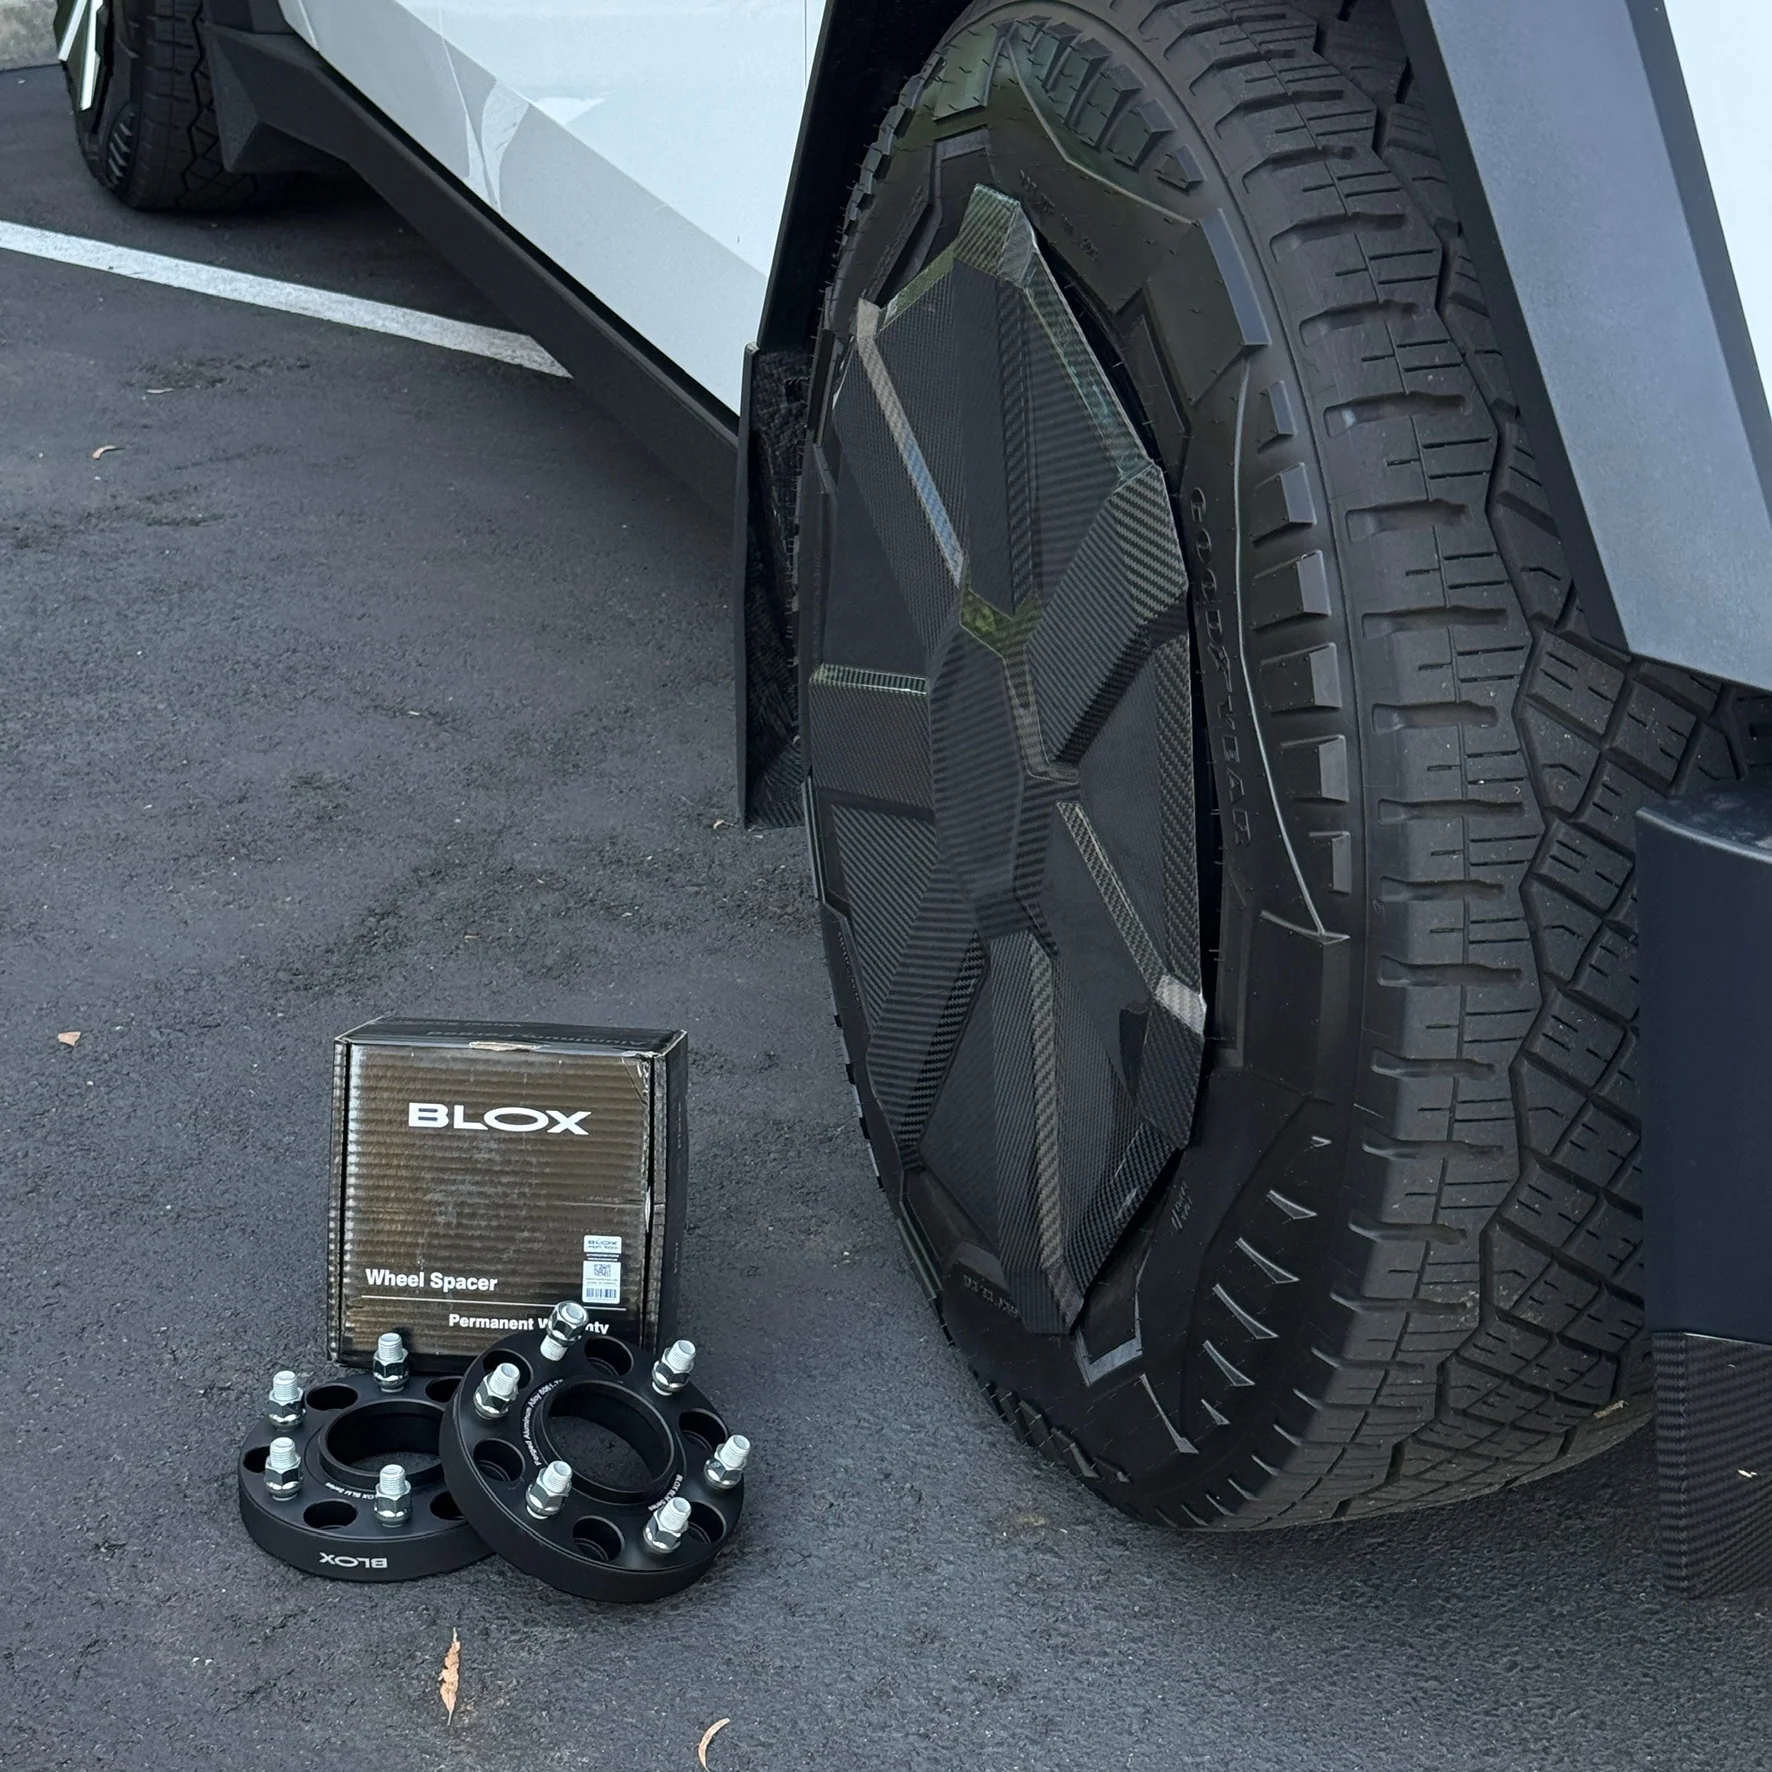
🚀 Widen your stance, elevate your presence, and enhance your Cybertruck’s aggressive look.
Upgrade your Tesla Cybertruck with our BLOX Forged Aluminum Wheel Spacers, precision-engineered to deliver a bold, widened wheel stance without compromising safety or performance.
🔧 Key Features:
-
✅ Perfect Fit for Tesla Cybertruck
Specifically designed for the 2023–Present Cybertruck, ensuring hub-centric perfection for a vibration-free ride. -
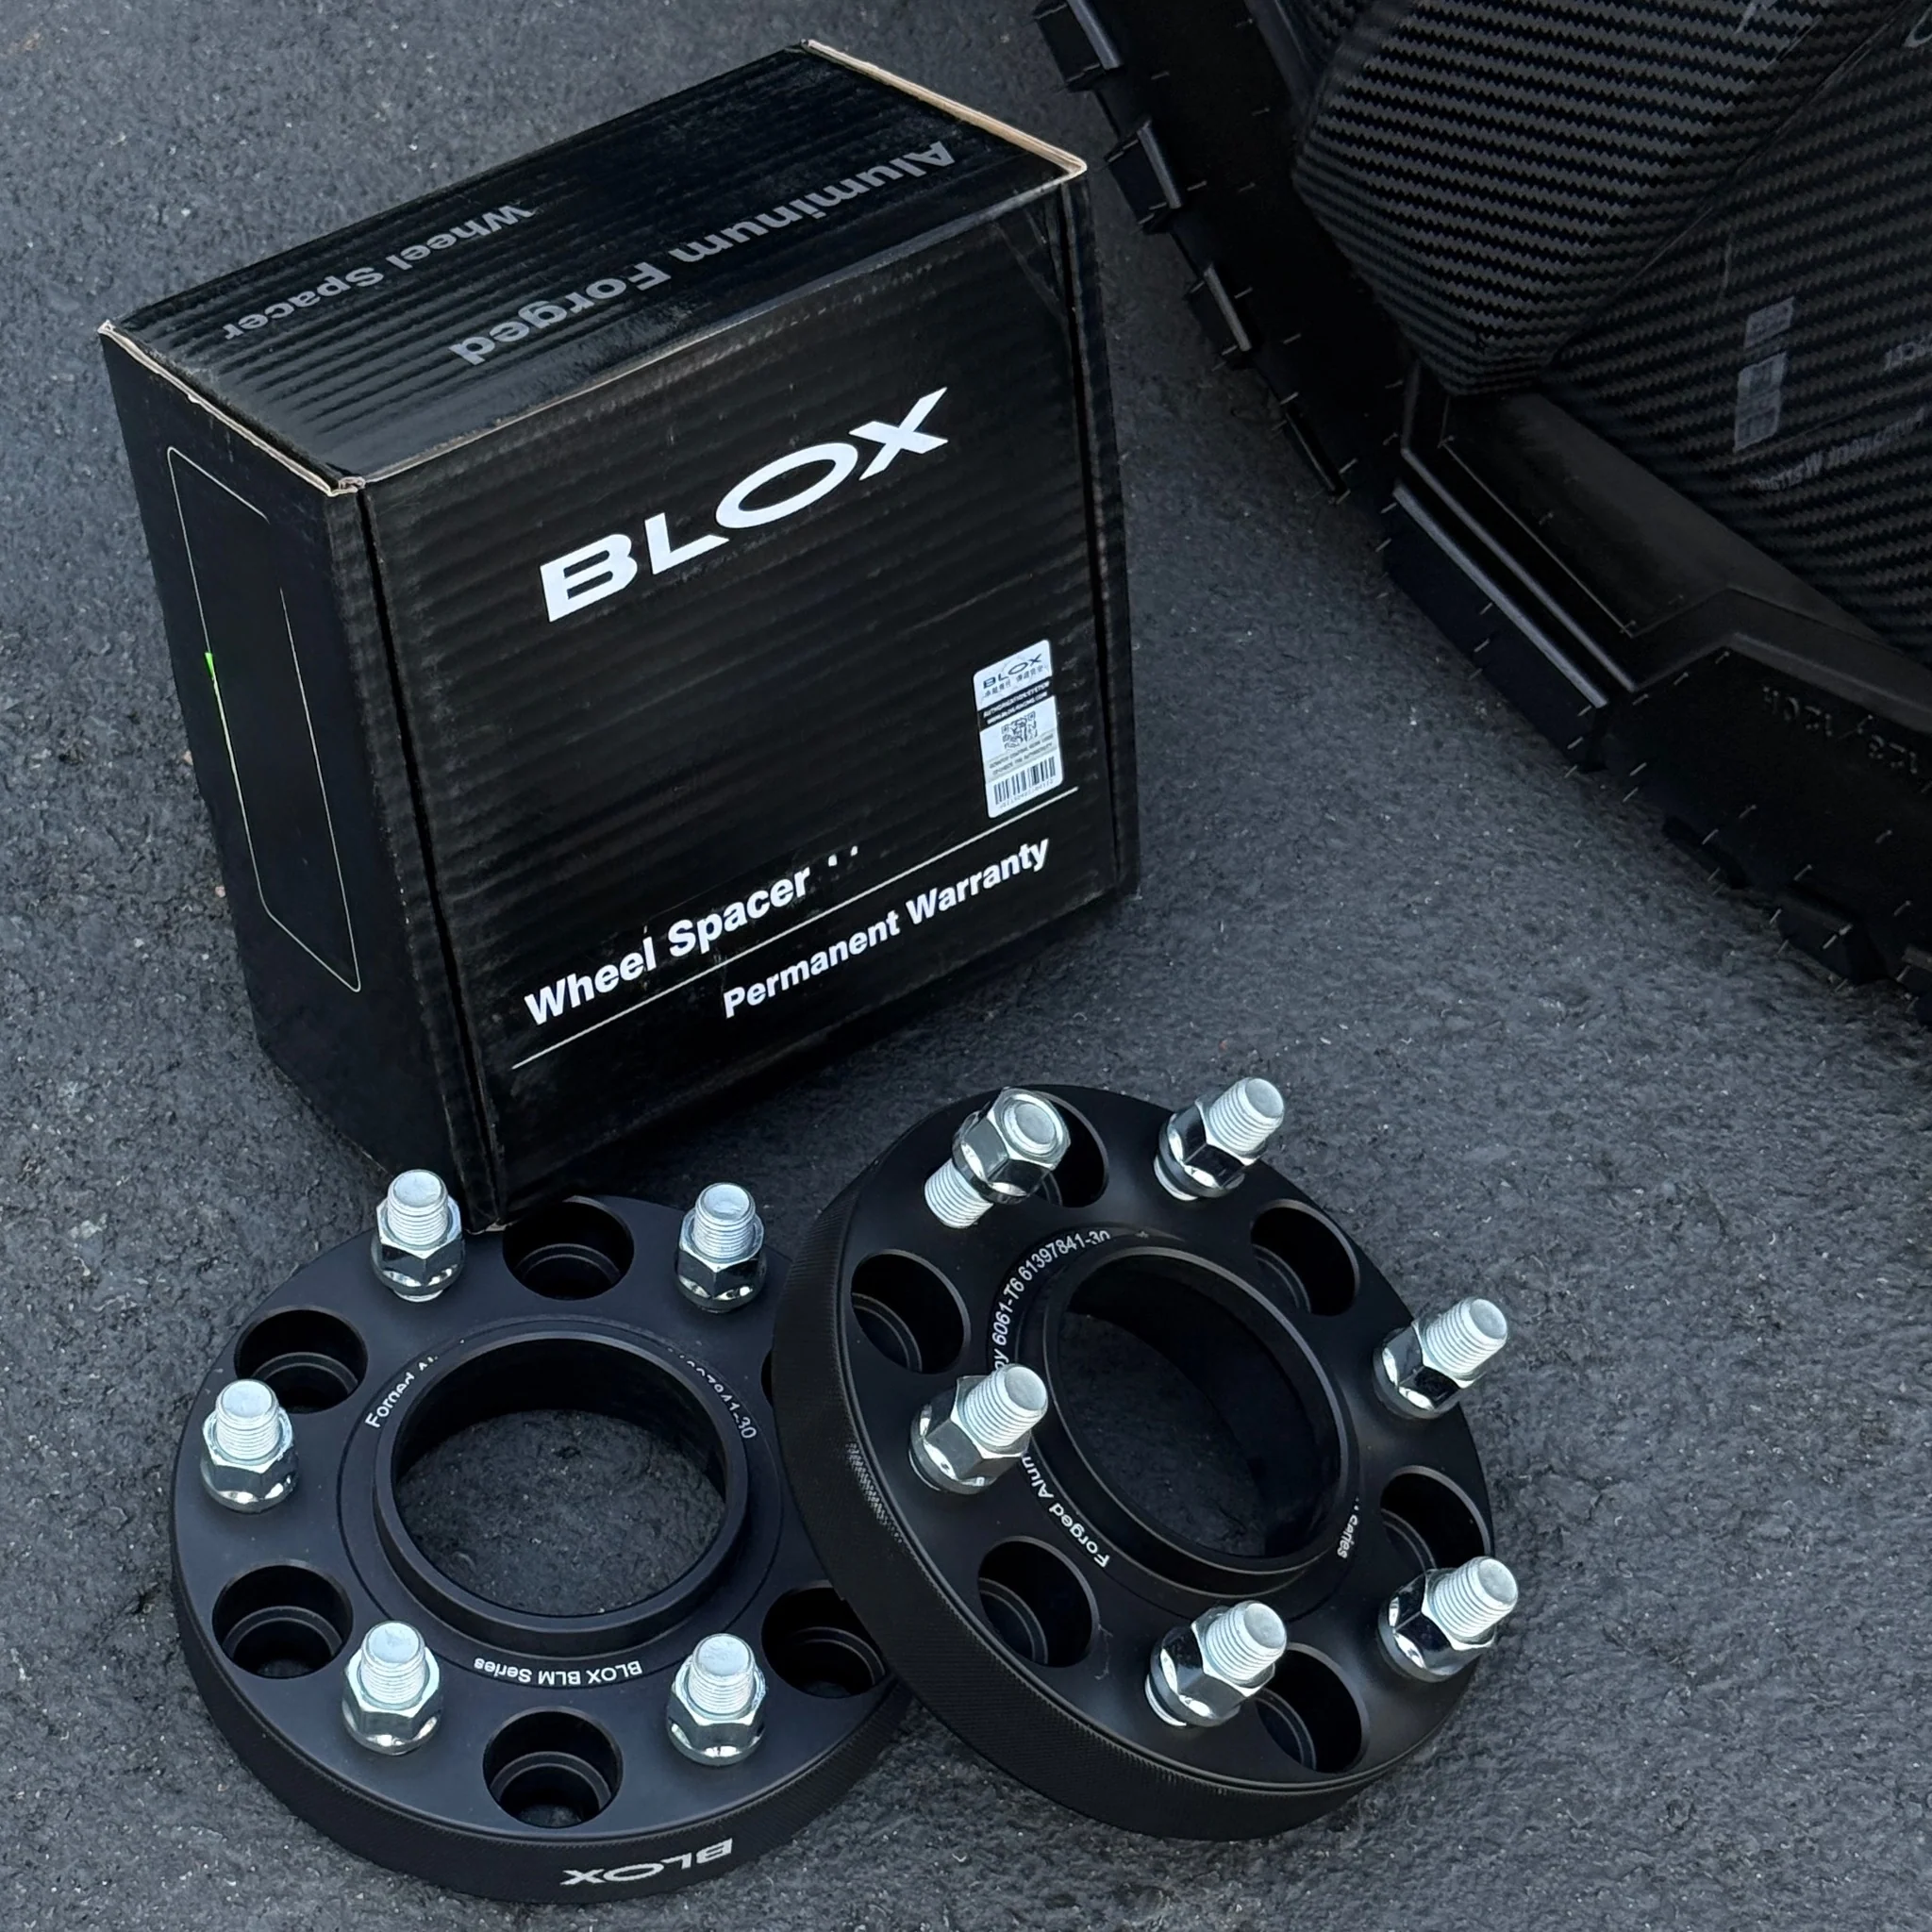
✅ Durable Forged Construction
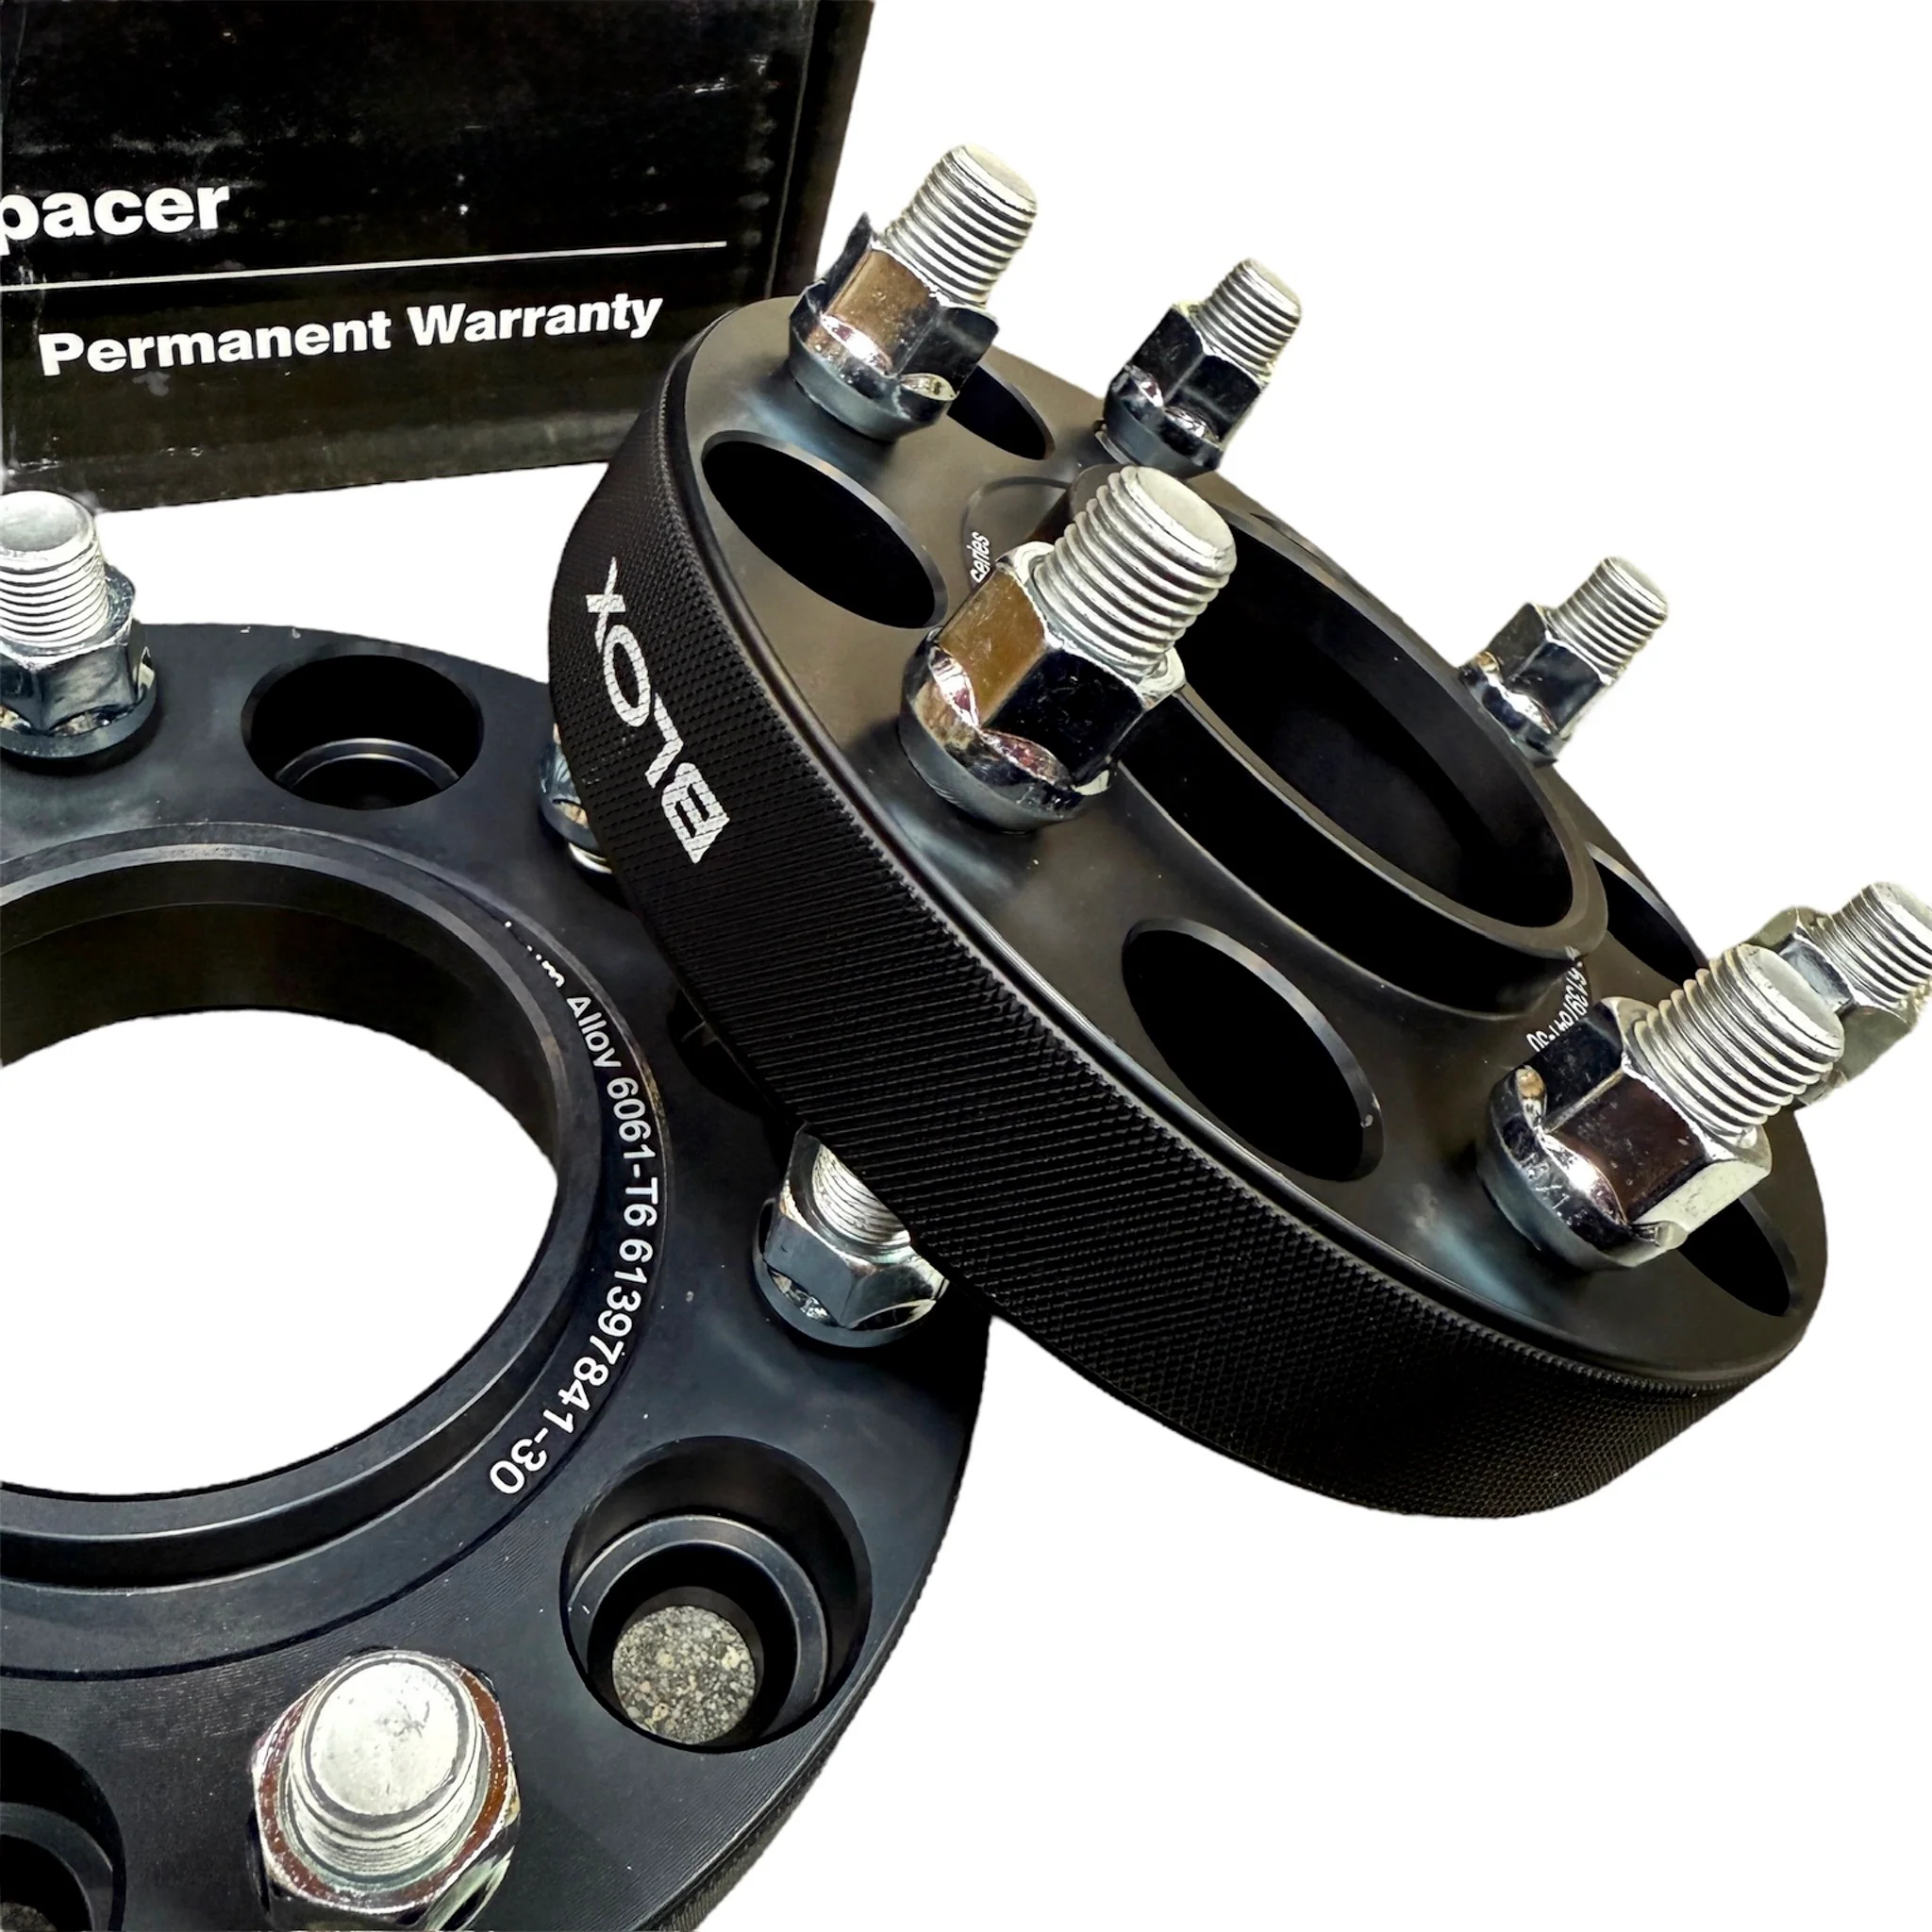
Made from aircraft-grade 6061-T6 aluminum alloy—lightweight, ultra-strong, and corrosion-resistant. -
✅ Wider Stance for Improved Aesthetics
30mm thickness pushes your wheels outward for a more aggressive off-road-ready look. -
✅ Precision Engineering
ISO-certified for bolt/stud strength (ISO898-1, ISO898-6, SAE J429, SAE J995) and corrosion resistance (ISO9227). Life range tested for 1 million cycles. -
✅ Off-Road Ready
Designed for off-road use, enhancing your Cybertruck’s rugged presence. -
✅ Includes 10 Studs Per Spacer
Max torque spec: 151 ft/lbs. -
✅ Finish
Hard anodized black for a stealthy, durable finish.
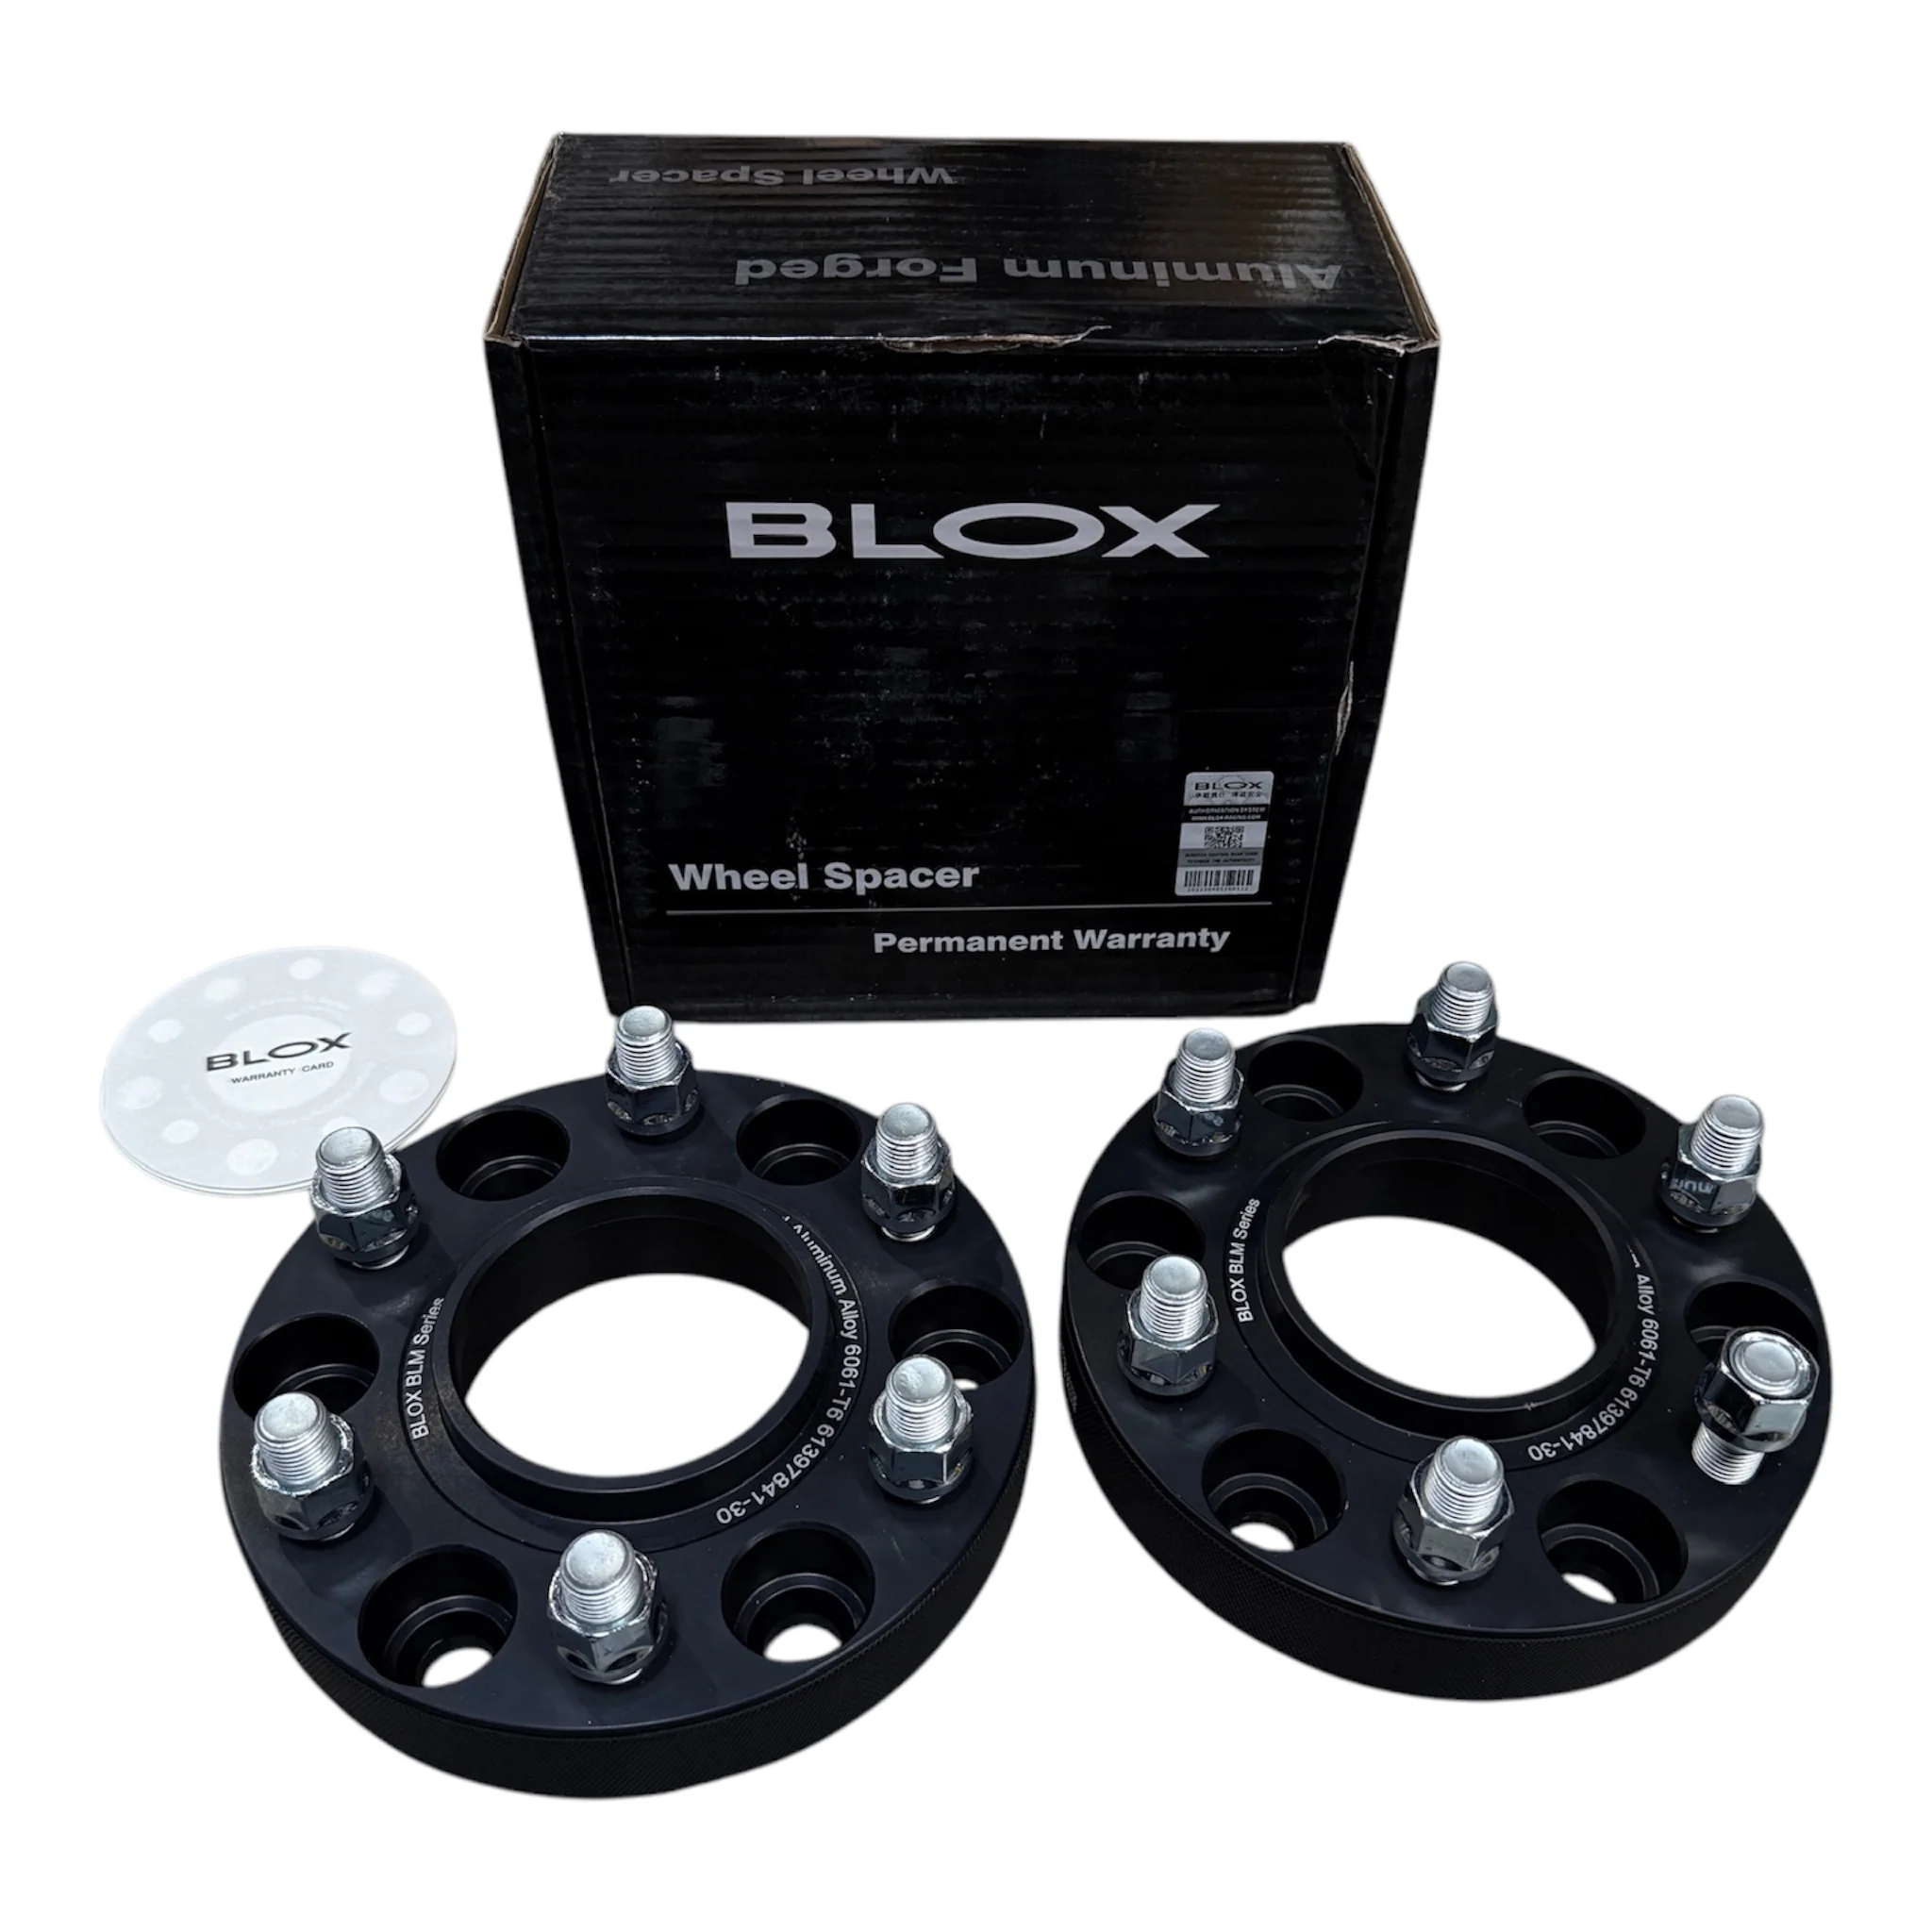
📦 What’s Included:
-
2-4 x 30mm Forged Aluminum Wheel Spacers
-
Installation Hardware
- Loctite
🚙 Vehicle Compatibility:
Fits: 2023–Present Tesla Cybertruck (All Trims)
Cybertruck Wheel Spacer Installation Guide
Tools Needed:
-
21mm socket (for OEM lug nuts)
-
10mm socket (for rotor retaining bolt)
-
19mm socket (for spacer lug nuts – included)
-
Floor jack & jack pads
-
Jack stands (safety precaution)
-
Torque wrench
-
Wire brush (optional)
-
Blue Loctite (recommended)
-
Anti-seize compound (recommended)
🔧 Step-by-Step Installation:
-
Jack Up & Secure the Vehicle:
On a level surface, jack up the Cybertruck corner you’re working on and secure it with a jack stand. Use the factory jack points. -
Remove Wheel:
Use a 21mm socket to remove the OEM Tesla lug nuts. Set these aside for reinstallation of the wheel only. -
Remove Rotor Retaining Bolt:
Use a 10mm socket to remove the rotor retaining bolt if present. -
Surface Cleaning & Prep:
Clean hub surface with a wire brush to remove rust or debris. In snowy or salty environments, apply anti-seize to the hub lip to prevent sticking. -
Apply Loctite (Recommended):
Apply Blue Loctite to the factory studs to help keep the spacer nuts from loosening.
🔄 If you don’t use Loctite, drive 100 miles and then re-torque the spacer nuts. -
Install Spacer with Included Lug Nuts:
Mount the spacer onto the factory studs and secure it using the provided shallow 19mm lug nuts.
These lug nuts are only for attaching the spacer to the hub. -
Torque to Spec – Spacer to Hub:
Tighten the 19mm spacer lug nuts to 150 ft/lbs.-
For the front, have a second person hold the brake pedal.
-
For the rear, the parking brake will hold the rotor in place.
-
-
Mount Wheel Using OEM Lug Nuts:
Place the wheel over the installed spacer and use the Tesla OEM 21mm lug nuts to secure the wheel to the spacer. -
Torque to Spec – Wheel to Spacer:
Tighten the OEM 21mm lug nuts to 150 ft/lbs. -
Repeat for Remaining Wheels.
📌 Summary:
-
19mm (included) lug nuts = Spacer ➝ Hub
-
21mm Tesla OEM lug nuts = Wheel ➝ Spacer
-
Torque spec: 150 ft/lbs for all studs
-
12 total studs per corner (6 holding the spacer, 6 holding the wheel)
-
Off-Road Use Only
-
Core fitment tested for Cybertruck wheels and brakes
🛡️ Warranty:
Backed by a 5-Year Manufacturer Warranty.
📽️ Video Demo:
Installation video for BLOX Spacers coming soon
Description
Cybertruck BLOX Aluminum Forged Wheel Spacers (1 Pair - 30mm)
🚀 Widen your stance, elevate your presence, and enhance your Cybertruck’s aggressive look.
Upgrade your Tesla Cybertruck with our BLOX Forged Aluminum Wheel Spacers, precision-engineered to deliver a bold, widened wheel stance without compromising safety or performance.
🔧 Key Features:
-
✅ Perfect Fit for Tesla Cybertruck
Specifically designed for the 2023–Present Cybertruck, ensuring hub-centric perfection for a vibration-free ride. -
✅ Durable Forged Construction
Made from aircraft-grade 6061-T6 aluminum alloy—lightweight, ultra-strong, and corrosion-resistant. -
✅ Wider Stance for Improved Aesthetics
30mm thickness pushes your wheels outward for a more aggressive off-road-ready look. -
✅ Precision Engineering
ISO-certified for bolt/stud strength (ISO898-1, ISO898-6, SAE J429, SAE J995) and corrosion resistance (ISO9227). Life range tested for 1 million cycles. -
✅ Off-Road Ready
Designed for off-road use, enhancing your Cybertruck’s rugged presence. -
✅ Includes 10 Studs Per Spacer
Max torque spec: 151 ft/lbs. -
✅ Finish
Hard anodized black for a stealthy, durable finish.
📦 What’s Included:
-
2-4 x 30mm Forged Aluminum Wheel Spacers
-
Installation Hardware
- Loctite
🚙 Vehicle Compatibility:
Fits: 2023–Present Tesla Cybertruck (All Trims)
Cybertruck Wheel Spacer Installation Guide
Tools Needed:
-
21mm socket (for OEM lug nuts)
-
10mm socket (for rotor retaining bolt)
-
19mm socket (for spacer lug nuts – included)
-
Floor jack & jack pads
-
Jack stands (safety precaution)
-
Torque wrench
-
Wire brush (optional)
-
Blue Loctite (recommended)
-
Anti-seize compound (recommended)
🔧 Step-by-Step Installation:
-
Jack Up & Secure the Vehicle:
On a level surface, jack up the Cybertruck corner you’re working on and secure it with a jack stand. Use the factory jack points. -
Remove Wheel:
Use a 21mm socket to remove the OEM Tesla lug nuts. Set these aside for reinstallation of the wheel only. -
Remove Rotor Retaining Bolt:
Use a 10mm socket to remove the rotor retaining bolt if present. -
Surface Cleaning & Prep:
Clean hub surface with a wire brush to remove rust or debris. In snowy or salty environments, apply anti-seize to the hub lip to prevent sticking. -
Apply Loctite (Recommended):
Apply Blue Loctite to the factory studs to help keep the spacer nuts from loosening.
🔄 If you don’t use Loctite, drive 100 miles and then re-torque the spacer nuts. -
Install Spacer with Included Lug Nuts:
Mount the spacer onto the factory studs and secure it using the provided shallow 19mm lug nuts.
These lug nuts are only for attaching the spacer to the hub. -
Torque to Spec – Spacer to Hub:
Tighten the 19mm spacer lug nuts to 150 ft/lbs.-
For the front, have a second person hold the brake pedal.
-
For the rear, the parking brake will hold the rotor in place.
-
-
Mount Wheel Using OEM Lug Nuts:
Place the wheel over the installed spacer and use the Tesla OEM 21mm lug nuts to secure the wheel to the spacer. -
Torque to Spec – Wheel to Spacer:
Tighten the OEM 21mm lug nuts to 150 ft/lbs. -
Repeat for Remaining Wheels.
📌 Summary:
-
19mm (included) lug nuts = Spacer ➝ Hub
-
21mm Tesla OEM lug nuts = Wheel ➝ Spacer
-
Torque spec: 150 ft/lbs for all studs
-
12 total studs per corner (6 holding the spacer, 6 holding the wheel)
-
Off-Road Use Only
-
Core fitment tested for Cybertruck wheels and brakes
🛡️ Warranty:
Backed by a 5-Year Manufacturer Warranty.
📽️ Video Demo:
Installation video for BLOX Spacers coming soon